
-
Email:zhao@hyliec.cn
-
Tel:+86 311 85273988
-
WhatsAPP:8613931128750


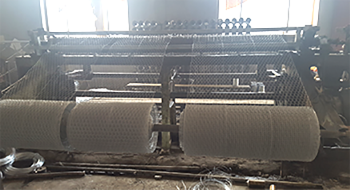
/Installing Chicken Wire on T-Posts A Simple Guide When it comes to maintaining a farm or garden, having the right fencing is crucial for protecting your plants and animals. One of the most popular fencing materials is chicken wire, which is lightweight, durable, and easy to work with. This article will guide you through the process of installing chicken wire on T-posts, ensuring that your garden or livestock area is secure and effective. Materials Needed Before you start, gather all the materials you will need 1. Chicken wire Available in various heights, choose one that suits your specific needs. 2. T-posts Strong metal posts that are ideal for supporting chicken wire. 3. Post driver A tool used to drive T-posts into the ground. 4. Wire cutters Essential for cutting the chicken wire to the desired length. 5. Fence staples or U-nails Used to attach chicken wire to the T-posts. 6. Gloves To protect your hands from sharp edges. 7. Measuring tape For accurate measurements. Step-by-Step Installation Process 1. Plan Your Fencing Layout Before beginning the installation, it's important to plan the layout of your fence. Measure the area where you want to install the chicken wire and mark the corners. This will help you determine how many T-posts you'll need and the total length of chicken wire required. 2. Install the T-Posts Using the post driver, install the T-posts at regular intervals along the marked perimeter. A good rule of thumb is to space the posts about 8 to 10 feet apart. Ensure that the posts are driven deep enough to provide stability but remain tall enough to support the chicken wire. If you're fencing a particularly high area or if you have larger animals, consider using taller T-posts. installing chicken wire on t posts 3. Prepare the Chicken Wire Once the T-posts are in place, roll out the chicken wire alongside the fencing area. Before cutting the wire, make sure it is the right length to cover the distance between the T-posts. Cut the wire using wire cutters, leaving a little extra length at both ends to facilitate attachment. 4. Attach the Chicken Wire to the T-Posts Begin attaching the chicken wire to the T-posts at one end. Drape the chicken wire over the top of the first post, and use fence staples or U-nails to secure it. Place a staple approximately every 12 to 18 inches along the post to ensure the wire is tightly secured. Continue this process for each T-post until the entire length of chicken wire is attached. 5. Secure the Bottom of the Chicken Wire To prevent animals from digging underneath the fence, secure the bottom of the chicken wire to the ground. You can bury it a few inches below ground level or secure it with landscape staples, anchoring it to the ground. This step is essential in ensuring that your fence is effective against small animals like rabbits or raccoons. 6. Final Adjustments After securing the chicken wire, make sure to check for any loose areas and tighten them as needed. Trim any excess wire and clean up the workspace. Conclusion Installing chicken wire on T-posts is a straightforward process that provides an effective barrier for gardens and livestock areas. By following these steps, you can create a secure environment that will keep your plants safe and your animals contained. With the right preparation and tools, your fencing project will be a success, allowing you to focus more on enjoying your farm or garden without worrying about unwanted intruders. Happy fencing!

-
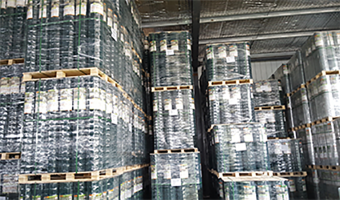
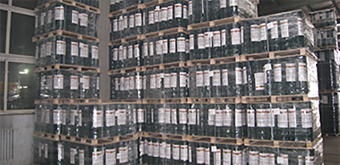
 Rich export experienceRich experience for fencing production and export to North of America, Europe, South of America, and South of Africa more than 20 years.
 -
Complete product systemThe Maintenance free coatings coupled with a durable design offer owners and developers a products that can match all project requirements for safety
-
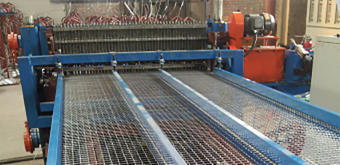
High-quality productsHigh quality control and specialist team for production process, inspection, packaging, QC Etc. to meet customer requirements.
-
Excellent serviceProvide professional technical support to customers, High quality after- sales support ensures that customers have no worries at all.
-
 Efficient Solutions for Fence Post Removal and Installation TechniquesThe Versatility of the T Fence Post Puller A Gardener's Best Friend When embarking on any gardening2026-04-04 19:28
 -
 Creative Ideas for Planting with Decorative Fence Panelsplant fence panels .2026-04-04 19:14
 -
 Durable and Versatile Field Fence Roll for Livestock and Property ProtectionField Fence Roll A Practical Solution for Agricultural and Landscaping Needs Field fence rolls are a2026-04-04 18:05
 -
 Elegant & Secure Single Wrought Iron Gates - Durable Designssingle wrought iron gates,single swing driveway gate,single gates,single iron gates,single steel gat2026-04-04 17:44